
🧊 The Iceberg
home
DIY Winterizing Your Home — The Freeze-Prep Checklist That Prevents Damage
The useful winter prep jobs are boring: seal air leaks, protect exposed lines, stop outdoor water, test backup power, and make the house easier to shut down if a freeze hits.
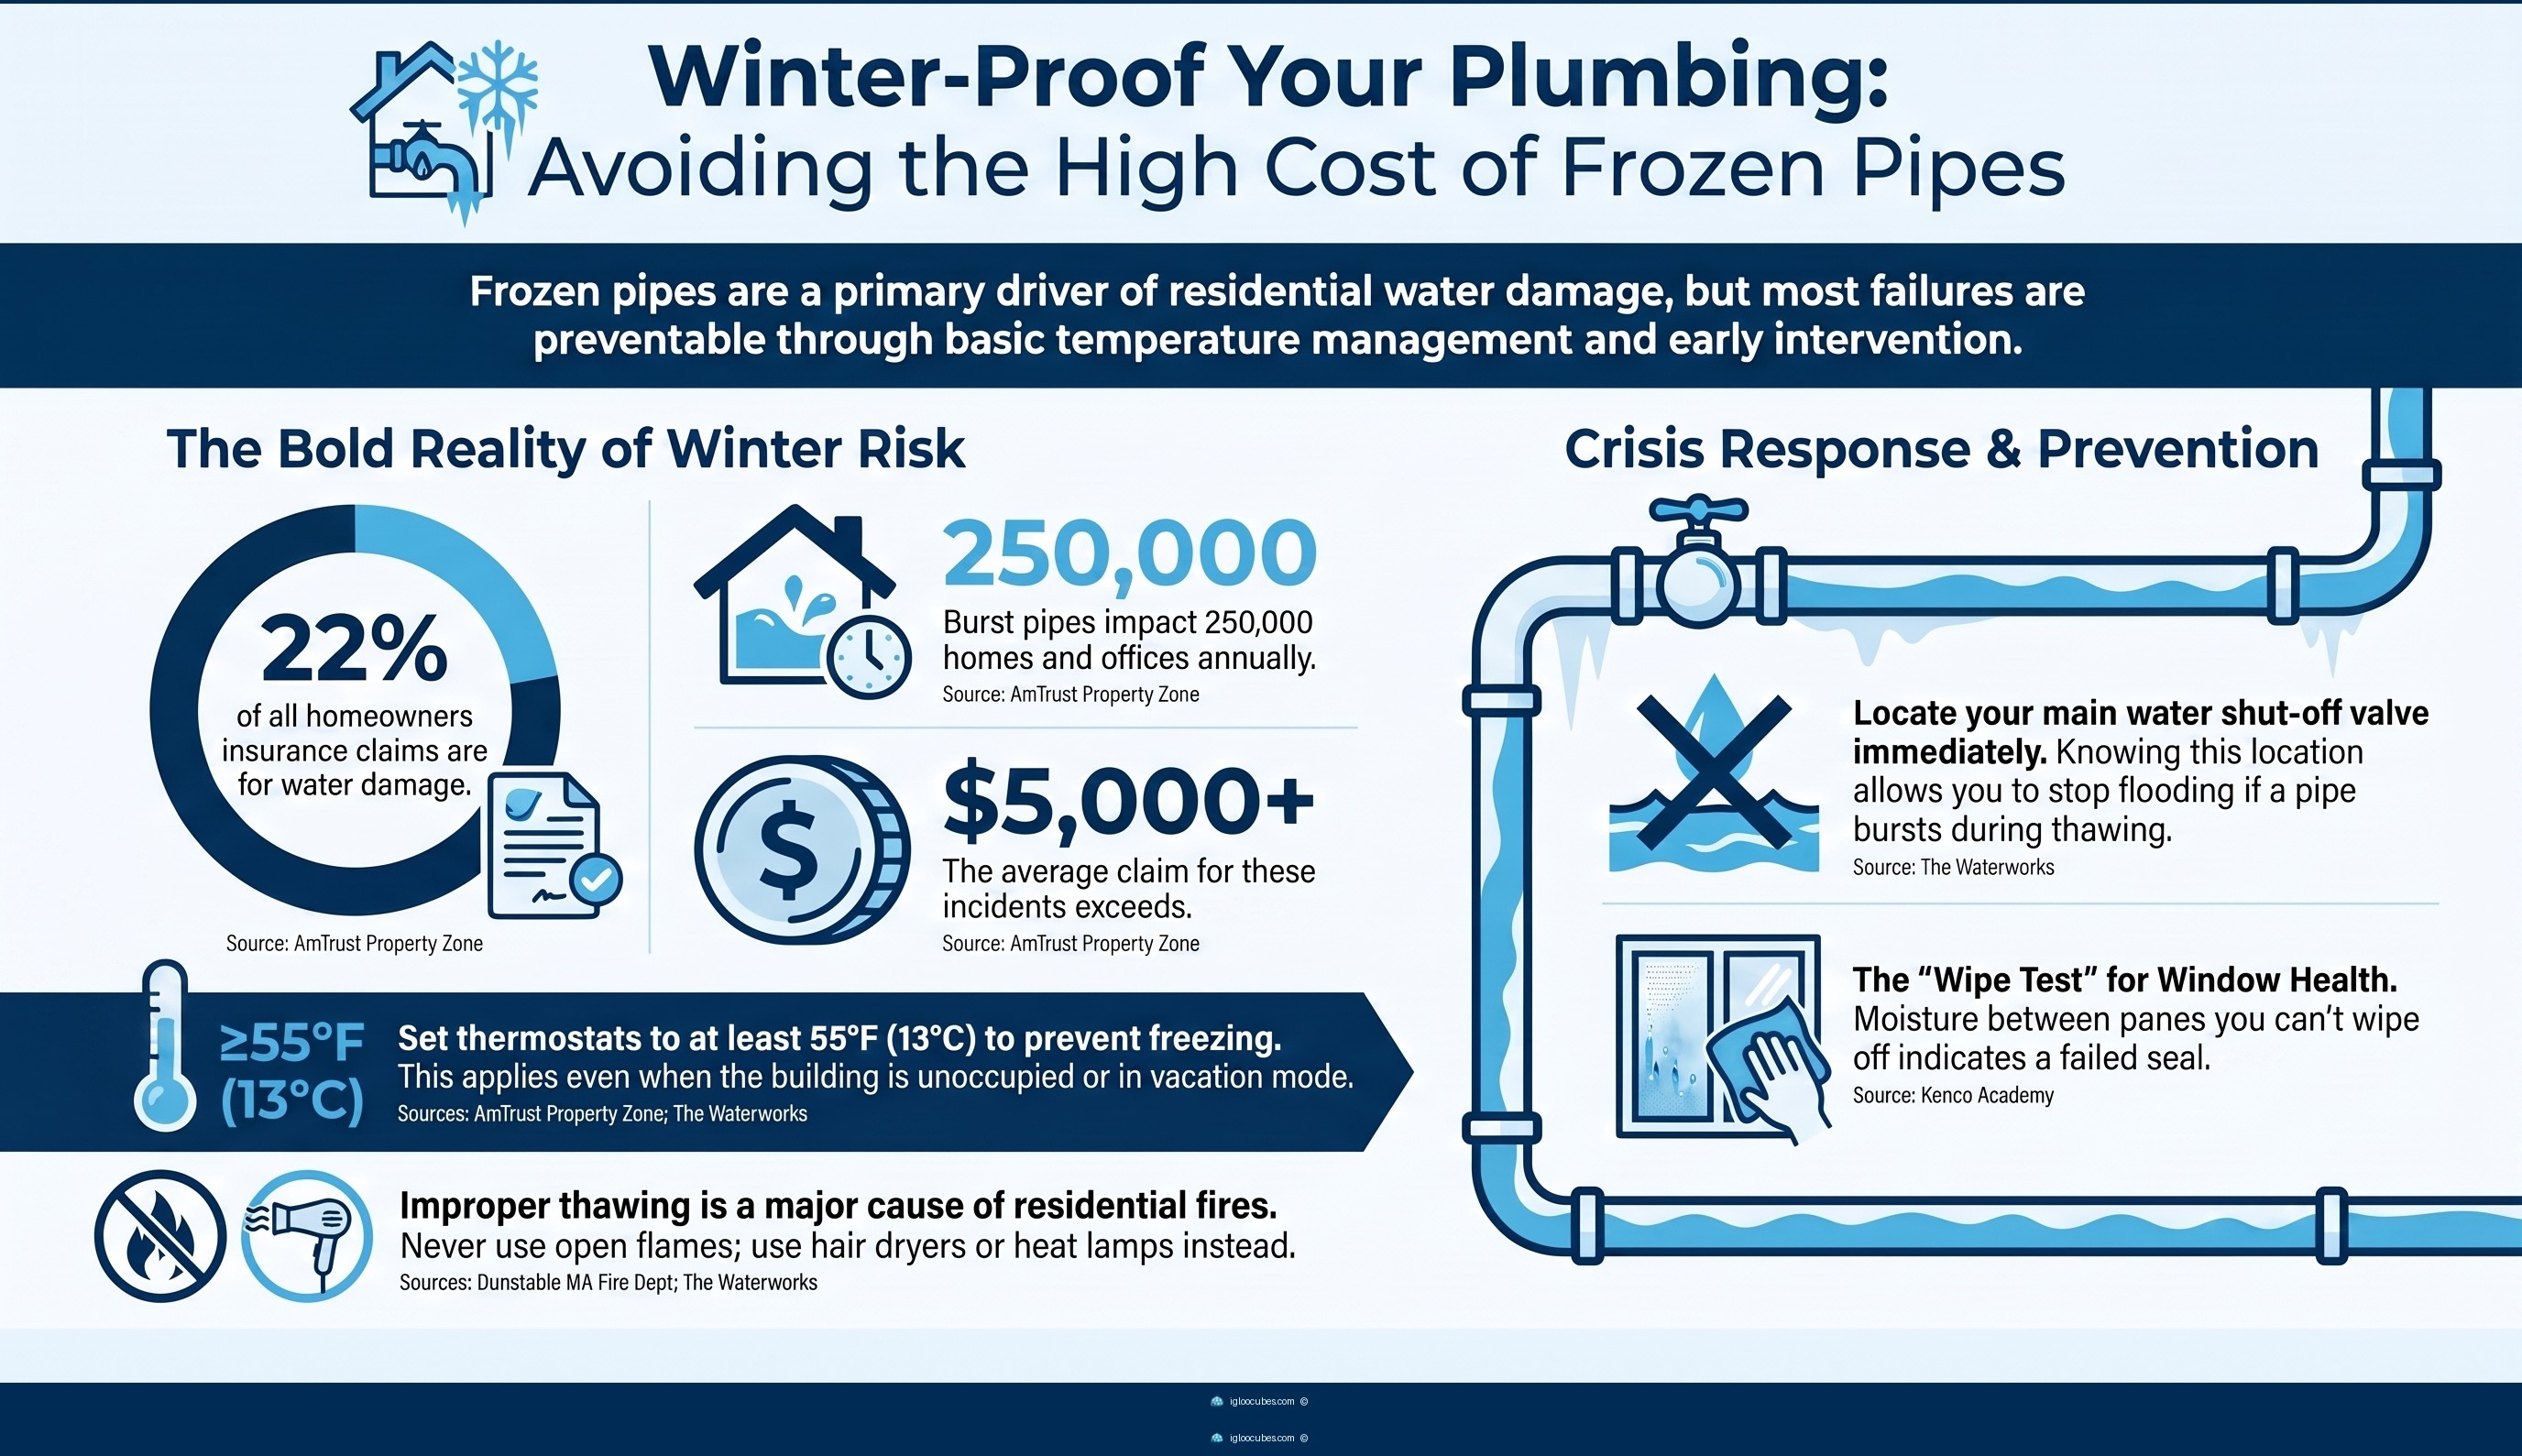
Winterizing is not a repair exercise. It is a cold-weather damage-prevention checklist for the DIY person who wants the house to make it through the season without drama.
The job is simple: keep heat in, keep water where it belongs, and catch the small failures before they become the expensive ones.
1. The Surface (The One-Hour Winter Prep List)
Shut off outdoor water. Disconnect hoses, drain them, and close any interior valve that feeds outside spigots before the first deep freeze.
Set the heat floor. If you leave town, do not let the house drift cold. Keep the thermostat steady enough that interior spaces stay above freezing even if nobody is home.
Walk the draft points. Check doors, window edges, attic hatches, and utility-room gaps where cold air sneaks in. A tube of caulk and a roll of weatherstripping do more work than most people think.
Make the house easy to survive in the dark. Put flashlights, batteries, a charged power bank, and basic emergency supplies in one place before winter storms start.
2. Just Below the Surface (The Fixes That Pay Off)
Insulate the weak spots. Focus on attic access, rim joists, basement penetrations, crawlspaces, and any line that runs near an exterior wall. A few sleeves and some foam sealant can cut a lot of cold exposure.
Stop heat loss around windows. If the room feels cold next to a window, the problem is usually air leakage or an aging seal. Weatherstripping, shrink film, and better interior humidity control are the DIY fixes.
Check the places water collects. Clean gutters, clear downspouts, and make sure runoff moves away from the foundation. Winter is where sloppy drainage turns into ice, seepage, and basement moisture.
Test the backup gear. Sump pump, battery backup, generator, snow shovel, ice melt, and roof rake all belong in the same mental bucket: things you do not want to discover are broken during a storm.
3. The Danger Zone (When Winter Prep Turns Real)
Frozen lines. If a line is frozen, the goal is gentle thawing, not forcing it. Open the faucet, use low heat, and stop if the pipe is hidden, inaccessible, or already damaged.
Moisture between panes. Fog trapped inside double-pane windows means the seal failed. That is not a cleaning issue; it is a sign the window is no longer doing its job.
Ice where it should not be. Ice in a wall, ceiling, attic edge, or cabinet means heat is escaping somewhere it should not. That is a warning sign, not something to ignore until spring.
Any water near power. If a freeze event puts water near outlets, cords, appliances, or a panel, the DIY work stops immediately.
4. The Deep End (Keep the Problem Small)
Do not turn prep into a project. Once winterizing turns into roof repair, window replacement, electrical work, or major drainage changes, you are outside the clean DIY zone.
Keep the paper trail. If weather damage turns into a claim, receipts, photos, and records of maintenance matter. The boring documentation is part of the job.
Avoid making a new problem. A fix that blocks ventilation, reroutes water to a neighbor, or creates a fire hazard is not a fix. It is a second problem.
Know the stop line. DIY winterizing is for prevention. Once there is active leakage, hidden damage, structural movement, or anything electrical, call a pro.
The point of winterizing is not to make the house perfect. It is to make it boring when the temperature drops.